
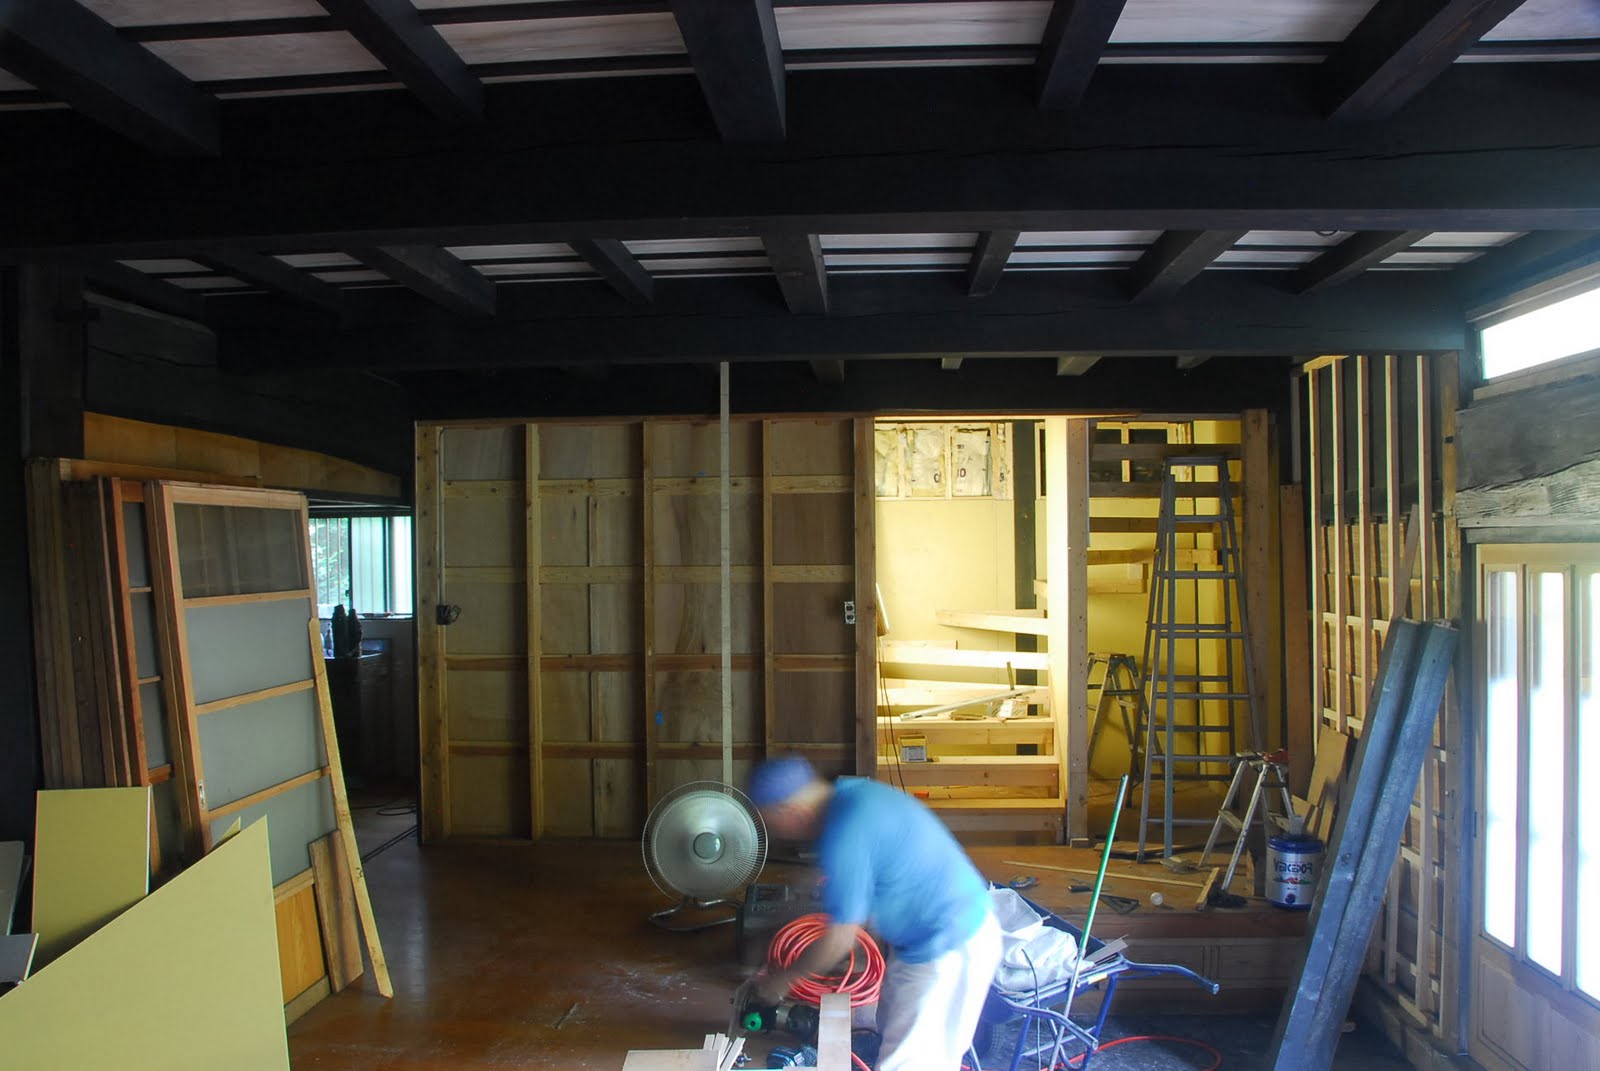
Some time ago, Arnie made most of the new pantry. Wall & ceiling surfaces currently remained unfinished since all the house's electrical wiring, plus internet, digital TV signal, etc. will come from here. This will be one of the last rooms to be finished, but it's a lot better than it started (So eaten by woodworm it was super light when dismantled!
When it's completed, the pantry will have large shelves with under lighting and plenty of wall insulation & florescent overhead lights recessed between the thicker beams. This is the best kind of light to see colours of food with - an important consideration, which is why there won't be pretty spotlights or such here.
Note how the entrance hall (& pantry) ceilings will be finished. No wallpaper is stuck to the plywood yet, but instead of bare wood it'll be textured white wallpaper contrasting against the black parts.
This will be exactly the same finish for the children's bedroom and dining room.
I'd never realised just how much engineering goes into making a spiral staircase.
Arnie's a faithful man of God - and at night receives dreams of the solutions to the challenges ahead. Although an experienced carpenter, this was the first time he was making a spiral design coupled with a house which isn't exactly symmetrical.
At first he realised the design measurements he'd worked out were flawed as he marked the plasterboard, but soon realised he hadn't accounted for the thickness of each step. Each cornering step is made of 2-3 pieces of thick pine, splined and glued together flat during each night he returned home from working here.

There's all sorts of angles and they have to meet very closely with each joining piece. With other tasks in between Arnie's taken about 2 weeks to get this far, but we're very pleased with the result. Next the steps will be stained a dark shade, with the vertical boards and skirting to be stained red, similar to the ceiling boards, then varnished. Walls above and below the stairs will receive textured washable wallpaper, because children typically run their hands down walls when going up & down aand like to create little hiding places with friends under stairs...
Under the stairs there will be space for heaters, fans, dog (car) cage, vacuum cleaner and lots of hooks for coats & of course there will be a framed (rectangular) door for the wardrobe and also a similar door at the top of the stairs for the guest room.
I'd originally thought of a framed arched entrance to the stairs and a similar sized door to the wardrobe and at the top of the stairs, but several friends pointed out there are no other such angles anywhere else in this house, so it would seem a bit out of place. So we're using large wooden beams as the effect. Either side of the bottom of the stairwell there will be thick beam facades, with plaster-boarded walls of course.

A total of 6 12V lights will sit low on the walls over alternate steps about 23cm off the step surface, to provide an ambient & inviting light. On the cross about half way up the stairs there will be a beautiful stained glass up-light.
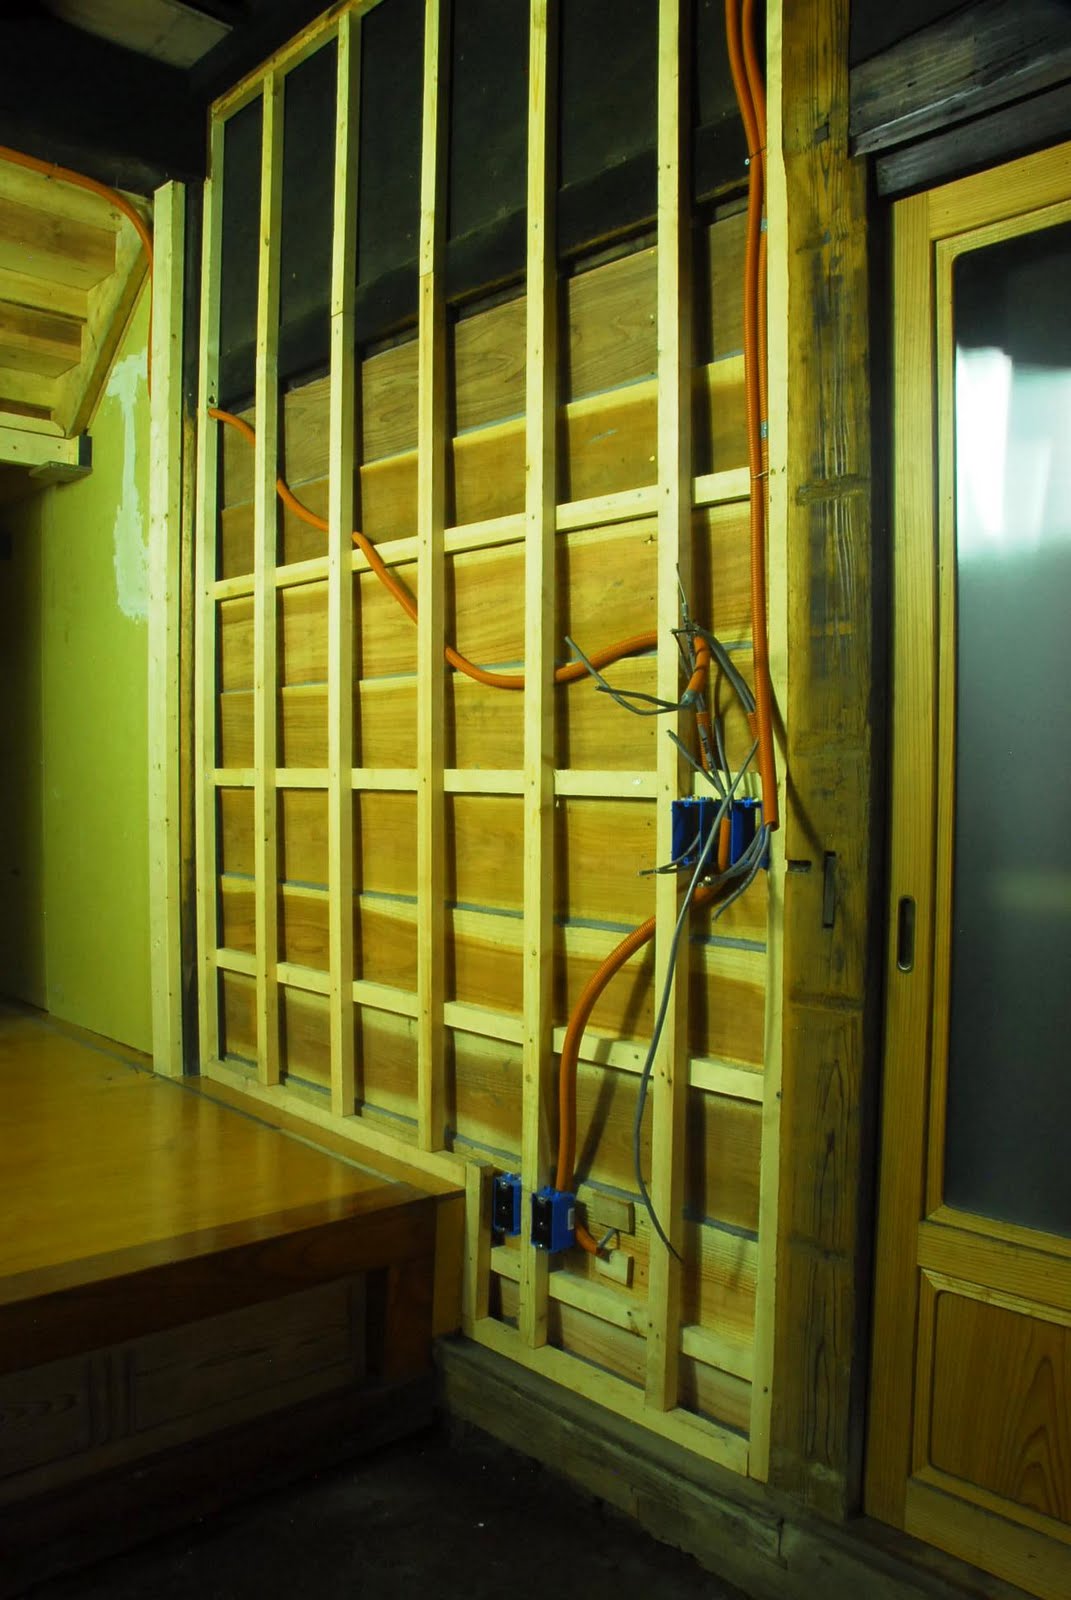
On Friday Arnie spent most of the day working out where to put wiring for the remotely switched wall sockets, stair wardrobe and entrance hall lighting as well lights above the door. Note the new wooden walls are sealed with silicone between the cracks. We're keen to exclude insects as much as possible.
Saturday morning on my way back to Shizuoka, I went via Akihabara to buy some bulb holders for a pretty Turkish origin but very oriental light to fit in the entrance hall. Once the ceilings are wall-papered it'll look very pretty. Not too far to go here. It may be the next room I decorate, if not the children's bedroom which is the next one scheduled for Arnie & Shinobu's attention.
No comments:
Post a Comment